
Managing images
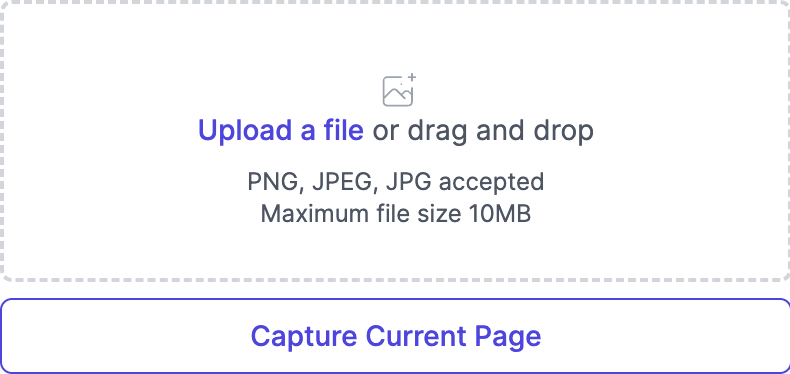
What image formats are accepted?
- PNG, JPEG, and JPG files are supported
- Maximum file size is 10MB per image
- Multiple images can be added to each field
What fields support images?
Images can be added to the following fields:
- Land Address
- Title Reference
- Lot/Section/Plan
- Plan type
- Notations
- Pool compliance
- Land area
- Car space area
- Storage space area
- Other space area
- Zoning
- Sewer location
How do I add an image to a Field?
- Click "Show additional details" to expand the Field.
- Add an image using one of two methods:
Upload from file
Click the upload area or drag and drop an image file (PNG, JPEG, or JPG). The image will be uploaded and the editor will open automatically.
Capture from PDF
Click "Capture Current Page" to capture the page currently displayed in the PDF viewer. This is useful for capturing diagrams, plans, or specific sections of the contract. The image will be captured and the editor will open automatically.
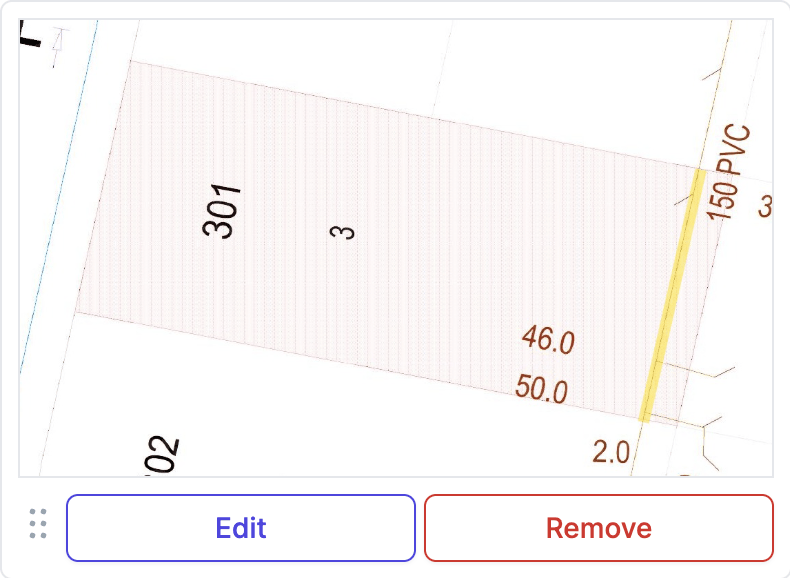
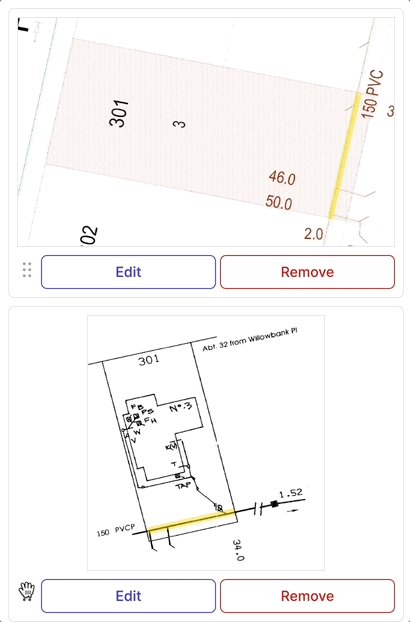
After adding an image, it appears as a thumbnail in the Field. You can add multiple images to the same Field by repeating the process.
How do I edit images?
- Click "Edit" on an existing image to open the image editor
- Available editing tools:
- Drawing: Add lines, paths, arrows, rectangles, and ellipses
- Annotation: Add text and numbered markers (1-5)
- Image tools: Crop, resize, and remove elements
- Click "Done" to save changes or "X" to cancel

How do I annotate specific areas in an image?
- Open the image editor by clicking "Edit"
- Click a numbered marker (1-5) at the bottom of the editor
- Move the marker to the desired location on the image
- Adjust the marker size if needed
- In your field comment or recommendation, reference the marker number
- Example: "Marker 1 shows the sewer connection point"
How do I reorder images?
- Click "Show additional details" button to expand the field containing multiple images
- Drag and drop images to change their order within the field
- The new order will be reflected in both the field display and final report
- Changes are automatically saved when you release the image
How do I view and manage existing images?
- View images:
- Images appear as thumbnails in both expanded and summary views
- Full-size images are visible in the editor and final report
- Preview images:
- Click on any image thumbnail to see a larger preview
- Remove specific images:
- Click "Remove" on the individual image you want to delete
- Confirm the removal in the popup
- This action cannot be undone
FAQ
How do I capture an image from the Document?
Click "Show additional details" on a Field that supports images, then click "Capture Current Page". The current page from the PDF Document will be captured and the editor will open.
Can I add multiple images to one Field?
Yes, you can add multiple images to the same Field. Each image appears as a separate thumbnail and can be reordered by dragging.
Do images appear in the Report?
Yes, images attached to Fields appear in the generated Report in the order you arranged them.
What editing tools are available?
After adding an image you can modify it immediately. Or you can click "Edit" on any image to open the editor.
You can crop the image, highlight areas, draw lines and shapes, add arrows, insert text, and place numbered markers. Use these tools to draw attention to specific details in the image.
Can I undo edits to an image?
While editing, you can use the Undo button. Once you click "Save image", the changes are permanent. To start over, remove the image and add it again.